
To me, there’s nothing better than seeing jars and jars of fruits and vegetables on my pantry shelves that I have canned and preserved. I get all geeked out and feel weirdly rich.
Canning fresh fruits and vegetables, whether you’re canning green beans, pickles, applesauce, jams or whatever, is a rather easy process. You save money, you’re eating healthier with no added chemicals or preservatives. The taste is so much better as well.
The process of canning is applying heat to food in a closed home canning glass jar that stops natural spoilage by removing air from the jar and creating a tight, vacuumed seal. It sounds mad scientist, but really, it’s easy. There are two methods of home canning: the hot water bath method (no bubbles or rubber ducky here) and pressure canning. Today, it’s all about the hot water bath.
Supplies You Will Need To Can And Preserve

3 Easy Steps How To Can Fresh Fruit, Vegetables


Step 1. First things first, you must sterilize the glass jars. There are large pots that are sold specifically for canning that you can buy, but if you want to keep things even easier, you can use a large stockpot and set a steamer basket on the bottom to rest the jars, which is how I roll. With the steamer basket on the bottom of a large stockpot, fill the pot two thirds full with water. Place the pot over medium heat and let the water come up to a low boil. Many dishwashers have a sterilizing setting, which is the easiest way to sterilize the jars, or you can wash the jars with warm soapy water and then soak them in a hot bath for 10 minutes. Once sterilized, set on a clean towel. I’m old school and I hand wash the jars and lids, then soak in the hot bath.
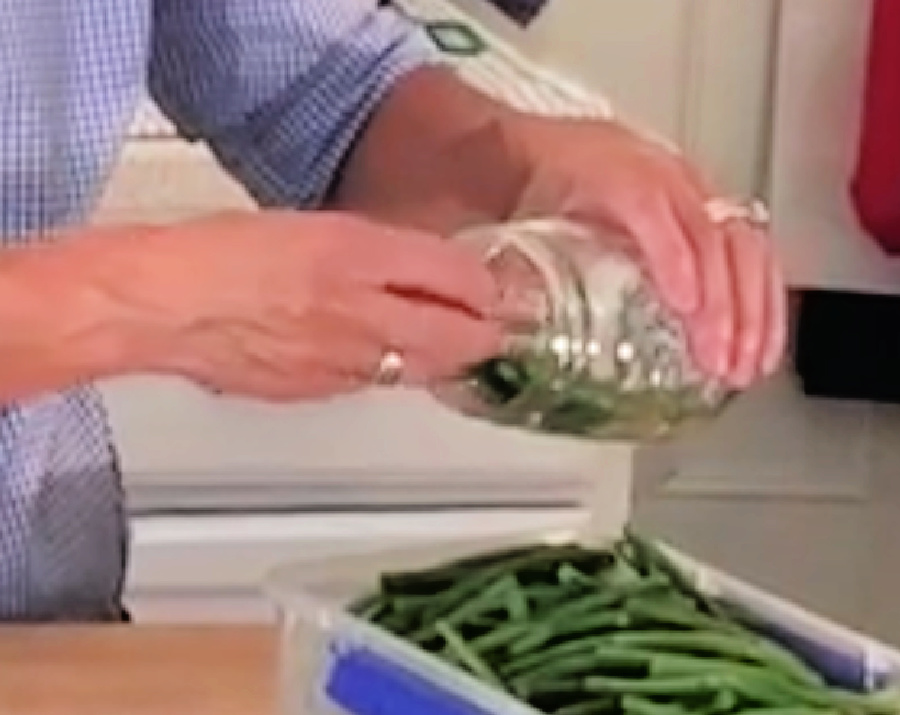
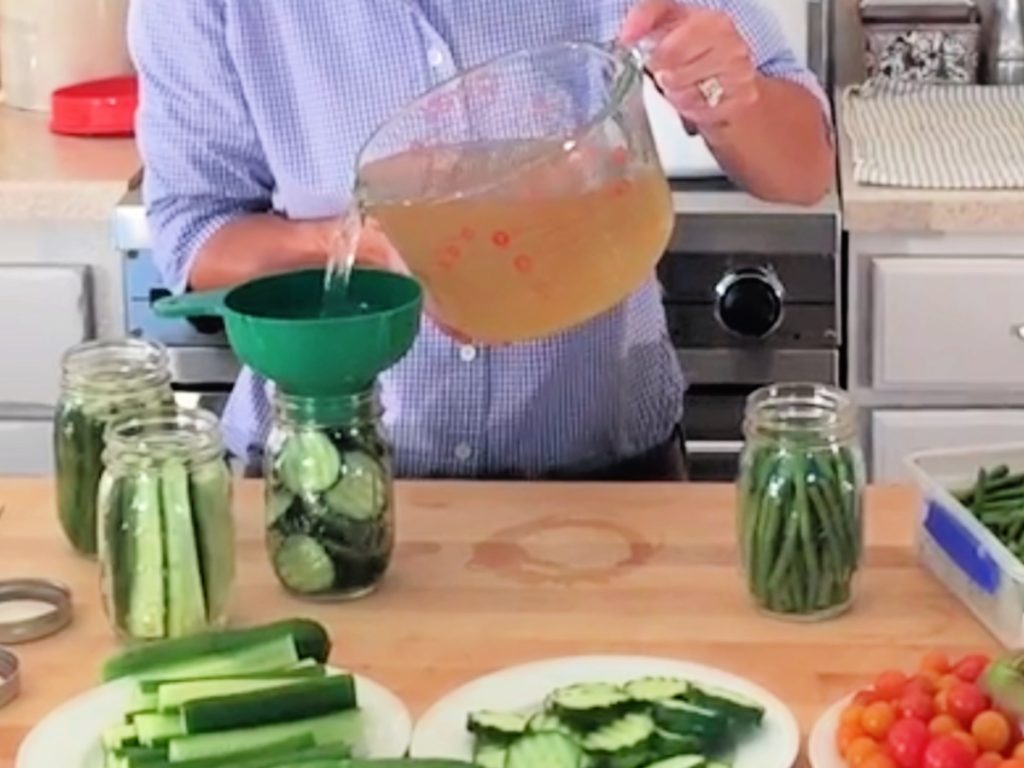
Step 2. The next step is the fun part. If using raw ingredients, fill jars being careful not to cram too much in there. Fill with liquid from whichever recipe you are using, leaving one half-inch space at the top and covering the ingredients. Using a rubber spatula, coax bubbles out before processing. Hand tighten lid on the jar. If filling the jar with jam or jelly, I would recommend using a wide-mouthed funnel as that will make filling the jars a breeze and will keep the rim of the jars clean. And again, leave one half-inch space at the top.
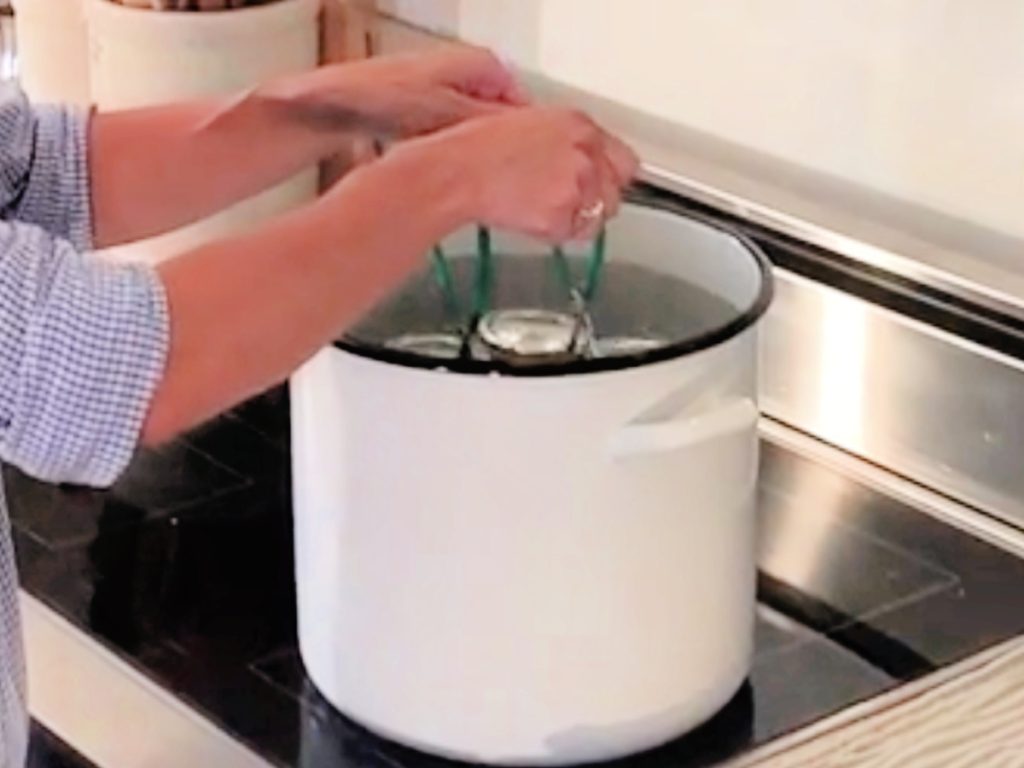
Step 3. Once the jars are filled and lids are tightened, with tongs carefully lower jars into the water bath and let sit for at least 20 minutes. Again, using the tongs, remove jars from the stockpot. Bubbling in the jars is normal as it means that the contents are boiling under the vacuum and is a sign that the lid is positioned properly to create a seal. Set the jars on the towel, leaving space between the jars for air to circulate to let the jars cool. Do not let jars touch each other.

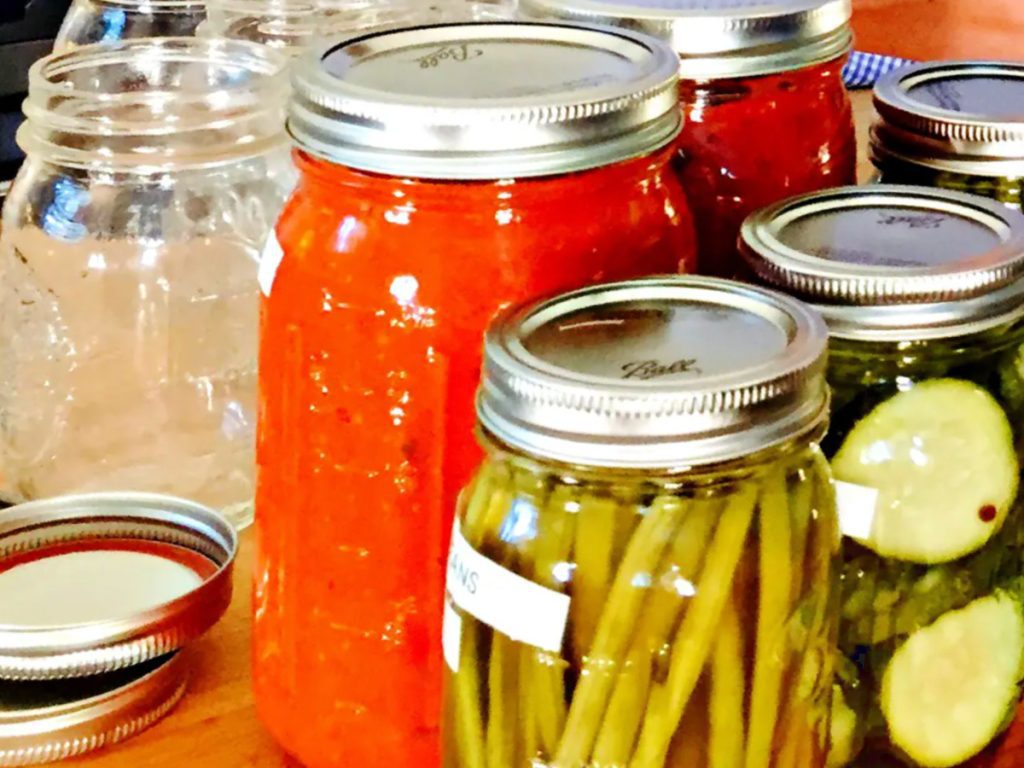
After the jars are cool, about 24 hours or more, check the seal. Look at the top of each jar. If the lid is slightly bent downward, it is sealed properly. Test the seal by pressing on the lid with your finger; the lid should not move. If the lid is pressed and doesn’t stay down, then the canning did not seal properly. Place in the refrigerator and use within 2-3 days. Label and date the jars and store in a cool, dark, dry place. And yes, it’s that easy.
Classic Recipe For Fruit Jams

I love to make jams. I take after my grandmother. Every summer, she would put up jars and jars of jams, everything from strawberry, to raspberry; apricot and peach. Her pantry was loaded with jams. Though I don’t make jam as often, I’m still able to can at least two varieties every summer. My recipe differs from Gram’s in that I don’t use pectin, but rather cook on a low boil until the jam comes up to temperature, creating that coveted thicker consistency with just the help of the stove. Click the buttons for two of my delicious jam and preserves recipes!

Home canning is a safe and economical way to put delicious and nutritious food on your table at every meal. Whether the fruits and vegetables came from your garden or from your local farm stand, you should definitely give home canning a try. Who knows, once you see all of the jars on your own pantry shelves, maybe you’ll geek out just like me.
This post does contain affiliate links. I do receive a small commission on items purchased, at no cost to you. As always, thank you so much for your support.


Missy says
I think you are set for the winter months, Brooke! Love all the great information!
Brooke Fedigan says
Thank you so much Missy!