
Would you like to have a bit of spring green in your home all year long? Make these! Easy beautiful DIY topiaries that will last forever.

Can I be honest with y’all for just a sec?
I just took Christmas down in the garden house two weeks ago.
Every year I seem to drag my feet a little later for the take down. I’ve tried to pinpoint the reason and what I’ve figured out is that once the holiday decor is put away, then so is the color. The brights and the vibrants that I thrive on get packed away and I’m left waiting weeks for the first signs of spring colors to bud and bloom.

But what to do in the meantime….

One of my favorite stores of all time is Terrain. It’s a garden decor store that is filled with the most gorgeous products, books and plants and all of the inspiration that I grab from there is magical. I walk the store, slowly, taking copious notes with my eyes and inconspicuously pulling out my phone to snap a few photos. There’s hundreds of plants to choose from and every kind of pot and planter that you could think of.
And the topiaries – several in every size and shape. Their price tag is hefty, but then again, they’re not the easiest to grow and maintain. They’re fickle. I splurged once and bought a small one. I brought it home, followed the care instructions to a T, and still managed to kill it.
Sigh.

Take 2. With the preserved moss spheres in mind, I went back to the store to grab a few, but turned right around after I picked my jaw off the floor. They were expensive, and although I craved a spring green topiary being on display all year, I also wanted one that didn’t look machine made. There was only one thing to do of course; I would make one.
Project Supply And Source Guide

I have sourced and linked everything you need, and everything I used, to make your own DIY Topiaries! Here is your shopping list:
- Spanish Moss
- Stardum Preserved Moss
- Preserved Forest Moss
- Preserved Moss Stakes
- Mossvine Garland
- Wicker Dried Vine Balls (6-pack)
- 4-inch Dried Vine Balls (6-pack)
- 10-pack Natural Vine Balls
- Hot Glue Skillet
- Hot Glue Skillet Glue
- Hot Glue Gun

- Aged Terracotta Pot
- Antiqued Terracotta Pot (6-inch)
- Blue and White Planter
- Bunny Rabbit Planter
- Distressed Terracotta Pot
- Faux Driftwood Planter
- Square Tapered Planter Pots
Easy Beautiful DIY Topiaries That Will Last Forever
Steering clear from the pre-fab moss balls and plastic-y looking ones as well, I wanted to create a true, real looking topiary much like the real ones that I can’t seem to keep alive. I needed to use preserved greenery rather than the faux, and preserved moss was my choice.

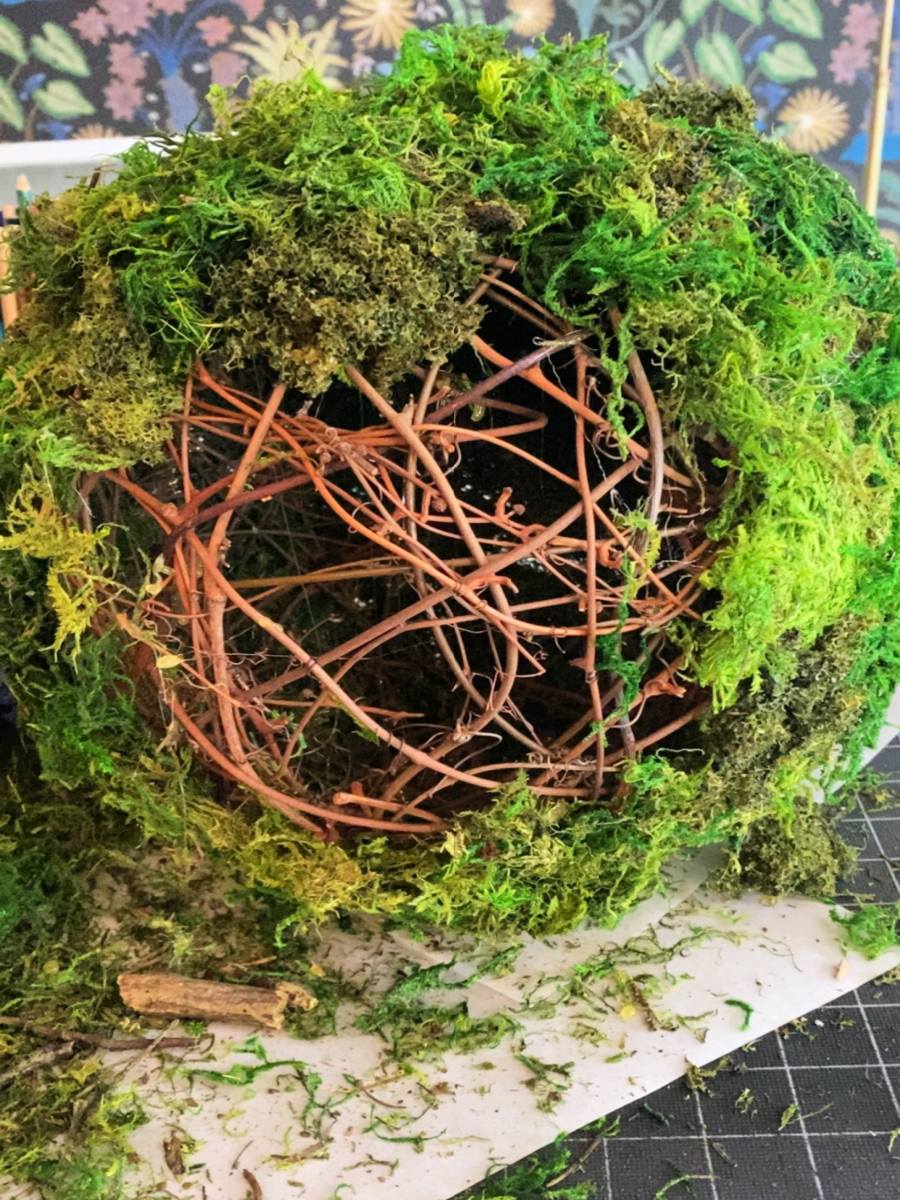
Now that I had the moss decided on, I needed to figure out the sphere; and being that the real topiaries aren’t ever perfectly round, I knew a styrofoam ball was out. My answer: use a grapevine sphere, perfect because their shape can be a little cattywampus which will make the topiary look even more authentic.
Before I get started on the how-to, the game changer in this garden craft is the hot glue pan skillet, which I linked above. In this case, it’s better than a hot glue gun because it’s must neater and you have a better control of how much glue goes on the surface when working with florals, greens and yes, moss. (In some cases, I use a spoon to apply the hot glue to the surface.) Game changer and great to have on hand.
Step 1. Place a sheet of wax paper or parchment paper down on the work surface to capture any glue spills.
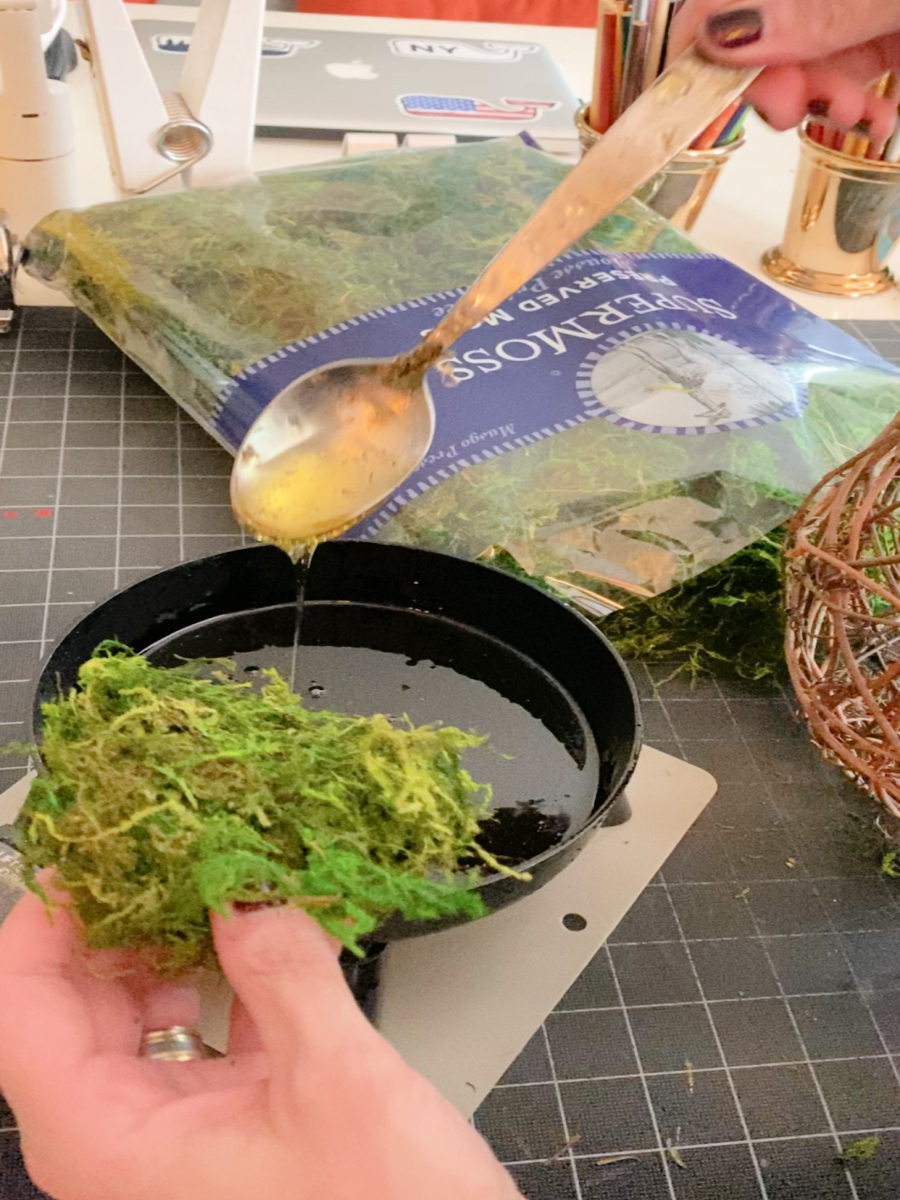
Step 2. Either dip a piece of moss into the hot glue, or use a spoon like I did, to drizzle a little hot glue over the surface, and place on the grapevine sphere, pressing and holding for a few seconds for the glue to adhere.

Step 3. Keep gluing and adding moss around the entire surface until the entire sphere is covered. Fill in any open areas with extra moss.
Step 4. Let glue dry and harden completely.


Step 5. To preserve the color and protect from sunlight and fading, spray with UV protectant spray. Hold the can 10 inches from the topiary and lightly spray the entire surface evenly. Let dry.

I loved how real and authentic the first topiary turned out, that I kept on making more so I could create a beautiful vignette. Mixing the DIY topiaries with real ferns. it makes for a gorgeous spring green filled garden display, both indoors and outside. They would make for gorgeous table centerpieces, too.

And the best part? When all’s said and done, each topiary cost less than $20 to create.
Perfect to display all year long, these easy beautiful DIY topiaries will last forever.

This post contains affiliate links. I do receive a small commission on items purchased, as zero cost to you. As always, thank you so much for your support!